Block Accessibility Checks is designed to make accessibility simple and automatic. Once installed, it continuously scans your content as you edit, helping you identify and fix accessibility issues before you publish — no special setup or technical knowledge required.
This guide walks you through installing the plugin, using it in the WordPress block editor, and customizing its settings to match your workflow.
For an overview of key features, available block checks, and how validation works, see the About page.
Installation & Activation
To install from your WordPress dashboard:
- Go to Plugins → Add New
- Search for “Block Accessibility Checks”
- Click Install Now, then Activate
Once activated, the plugin works immediately with sensible defaults. You can customize your settings anytime under the Block Accessibility Checks menu item.
How to Use
- Start editing your content in the WordPress block editor.
- Watch for visual indicators, red or yellow icons will highlight content issues.
- Read the guidance by selecting the block and checking the Block Inspector panel for detailed messages.
- Fix the issues by following the instructions to resolve accessibility problems.
- Publish with confidence. Your block now meets accessibility standards.
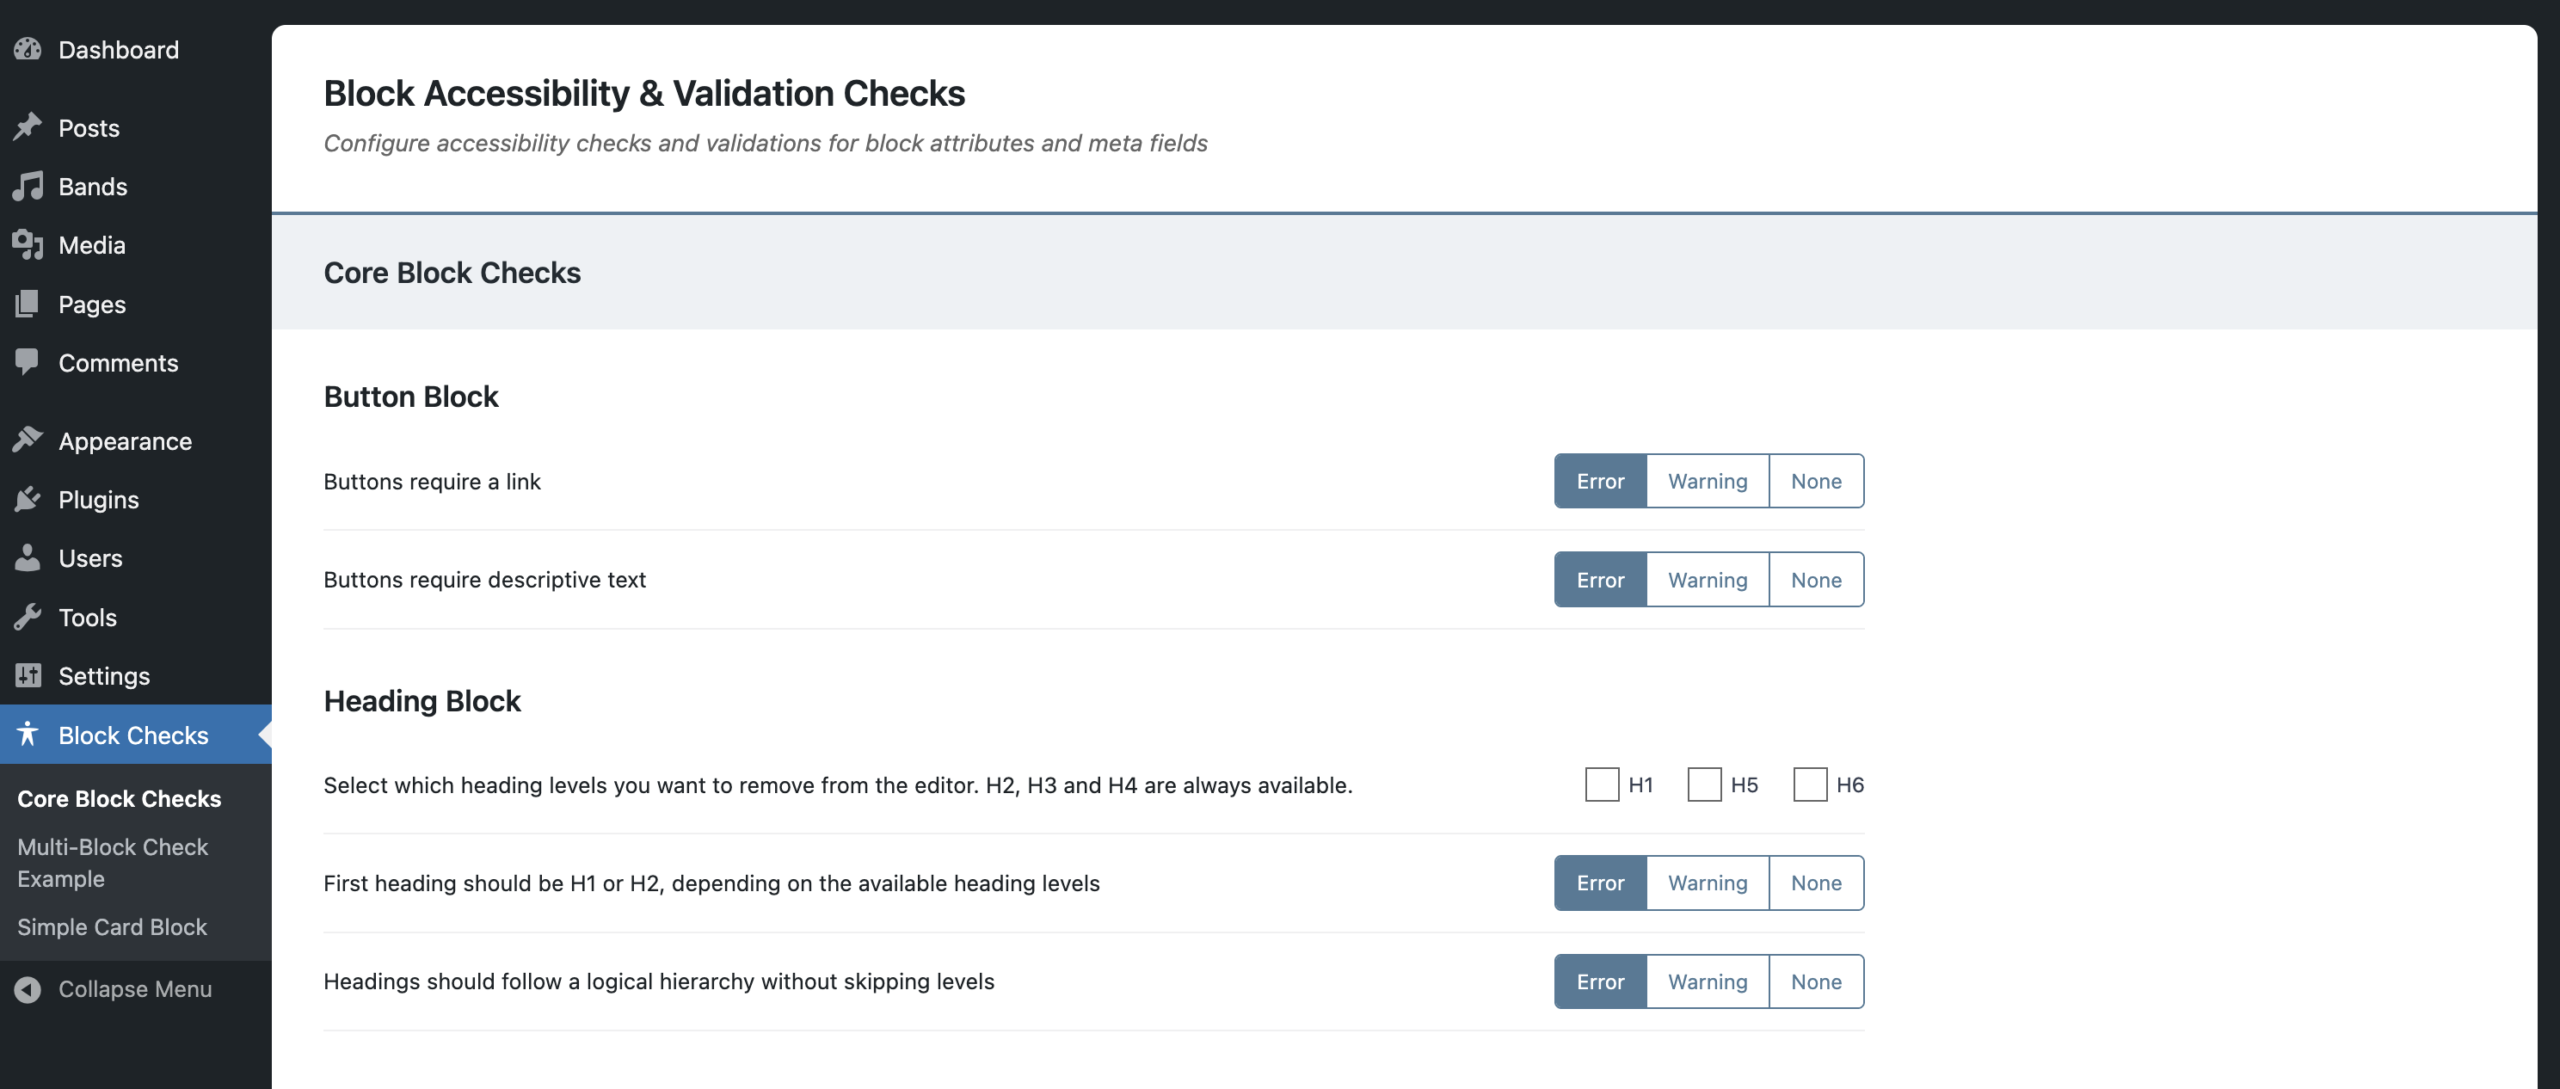
Plugin Settings
You can customize how Block Accessibility Checks behaves from the WordPress admin menu under Block Accessibility Checks. Each accessibility check can be configured with a severity level that determines how it appears in the editor and whether it affects publishing:
- Error – Prevent publishing until the error is resolved.
- Warning – Show a recommendation but continue to allow publishing.
- Disabled – Turn off the check entirely, no notice will be provided.
Choosing Your Configuration
There’s no single “right” setup, it depends on your workflow and accessibility goals. The examples below show a few effective ways to balance strict compliance with day-to-day flexibility.
- Balanced Approach – Keep critical checks as Errors, and optional ones as Warnings (recommended for most sites).
- Strict Compliance – Set all checks to Error for maximum accessibility (ideal for government or education sites).
- Flexible Mode – Use Warnings for most checks to support learning and gradual improvement.